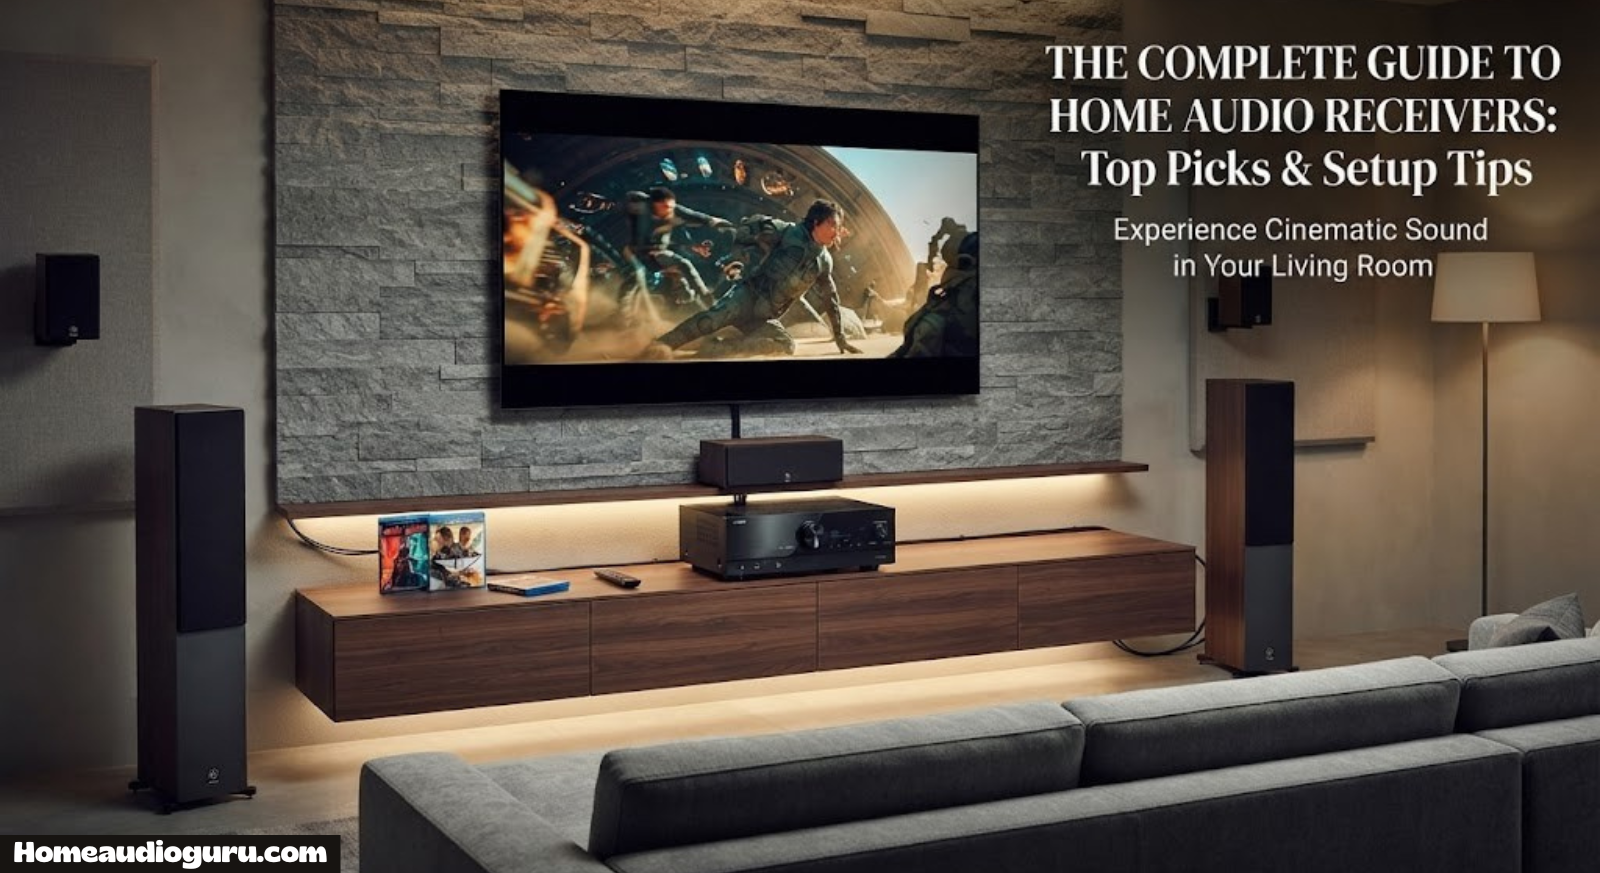
How to Set Up a Home Theater Receiver (Complete Step-by-Step Guide)
From unboxing to full Dolby Atmos calibration — everything you need to wire, configure, and fine-tune your AV receiver so every movie night actually sounds like one.
Why a Proper Receiver Setup Actually Matters
A home theater receiver is the brain of your entertainment system. It’s the single box that takes in signals from your streaming device, Blu-ray player, or gaming console, decodes the audio, amplifies it, and routes both picture and sound to the right places. Get the setup right, and a modest speaker package can sound shockingly good. Get it wrong, and even a premium Denon or Marantz unit will sound flat, unbalanced, or downright frustrating.
This guide walks through every stage of the process — physical placement, cabling, source connections, first boot, automatic room calibration, and manual fine-tuning — in the order you’ll actually do them. Whether you’re setting up your very first 5.1 system or upgrading to a 7.2.4 Dolby Atmos rig, the steps below apply. If you haven’t picked a receiver yet, our best home audio receiver roundup is a good place to start before you begin wiring anything.
It’s also worth understanding, before you start, what a receiver actually does versus what a simpler system does. A receiver is essentially three devices in one enclosure: an HDMI switcher that manages every video and audio source in your room, a surround-sound decoder that interprets Dolby Digital, DTS, Dolby Atmos, and other formats, and a multichannel amplifier that pushes power out to every connected speaker. That’s a lot of functionality packed into one box, which is exactly why the rear panel looks intimidating the first time you see it. Once you understand that each section of the back panel maps to one of those three jobs — inputs on one side, speaker terminals on another, network and control ports somewhere else — the whole thing becomes far less overwhelming.
There’s also a mindset shift worth making before you begin: a receiver setup is not something you do once and forget forever. It’s closer to tuning an instrument. The first setup gets you 90% of the way to great sound, and small adjustments over the following weeks — nudging a level here, adjusting a crossover there — get you the rest of the way. Don’t expect perfection on the first boot, and don’t assume something is broken if the very first movie you watch sounds slightly off before you’ve had a chance to fine-tune. That said, following the steps below in order will get you dramatically closer to “right” on the first try than winging it ever will.
Step 1: Unbox, Inventory, and Plan Placement
Lay everything out before you connect anything
Before a single cable goes in, unbox the receiver and every speaker, then physically lay out where each component will live. Receivers run warm, so they need at least 4–6 inches of clearance on all sides — never place one inside a fully enclosed cabinet without ventilation. Decide on speaker positions now: front left/right at ear height flanking the screen, center channel directly above or below the display, surrounds to the side or slightly behind the listening position, and a subwoofer wherever bass sounds tightest (corners often over-emphasize bass, so test a few spots).
Take a few minutes here to also confirm your cable lengths will actually reach — measure the distance from the receiver’s intended shelf to each speaker position, and buy speaker wire with a few extra feet of slack rather than pulling it taut.
Placement height matters more than most people expect. Front left and right speakers should have their tweeters roughly at ear height when seated, angled very slightly inward toward the listening position — a technique audio engineers call “toe-in” that helps sharpen stereo imaging. The center channel handles the vast majority of movie dialogue, so it needs a clear, unobstructed path to your ears; sitting it inside a cabinet behind a closed glass door will noticeably dull high frequencies and make speech harder to understand, even at a perfectly reasonable volume. If your center channel absolutely must sit below the screen, angle it upward slightly using a wedge or dedicated speaker stand rather than firing it straight into your shins.
Surround speakers are more forgiving of exact placement, but the general rule is to mount or position them slightly above and to the side of the listening area — roughly 90 to 110 degrees off-axis from where you sit — rather than directly behind your head, which can make surround effects feel disorienting rather than immersive. If you’re working with a 7.1 layout, the rear surround pair goes directly behind the seating position, completing the “wrap-around” effect that separates a true surround setup from a simple stereo-plus-center arrangement.
Finally, think about your equipment rack itself. Receivers need airflow above and behind the unit, not just to the sides, because heat rises and a lot of the internal components — especially the power amplifier section — generate real warmth during extended movie-watching sessions. An open shelf or a rack with ventilated backing works far better than a fully enclosed media cabinet with solid doors, and if you must use an enclosed cabinet, budget for a small quiet cooling fan.

Need a receiver before you start?
Check current pricing and availability on a well-reviewed 7.2 channel receiver with Dolby Atmos support.
Check Price on AmazonStep 2: Connect the Receiver to Your TV
Route video through the receiver, not around it
The single most important cabling decision is this: your streaming box, gaming console, and Blu-ray player should plug into the receiver’s HDMI inputs, and a single HDMI cable should run from the receiver’s “HDMI Out (ARC)” or “eARC” port to your TV’s ARC/eARC-labeled HDMI input. This lets the receiver both decode audio from every source and pass video straight through, while ARC/eARC sends the TV’s built-in app audio (Netflix, YouTube, etc.) back to the receiver for playback through your speakers instead of the TV’s weak internal speakers.
If your TV doesn’t support eARC (older sets only have standard ARC), that’s fine — you’ll still get multichannel Dolby Digital and DTS, just not the higher-bandwidth Dolby Atmos/DTS:X bitstream from streaming apps. For a full breakdown of ports, cable types, and troubleshooting, see our dedicated guide on how to connect a receiver to a TV.
A quick but important detail: not every HDMI port on your TV is labeled ARC or eARC — usually only one is, and it’s frequently marked directly on the panel or in the TV’s port-labeling diagram in the manual. Plugging your receiver into the wrong HDMI input on the TV is one of the most common reasons people report “picture works but sound doesn’t” after finishing a setup. If your TV has multiple HDMI 2.1 ports but only one supports ARC/eARC, that’s the one you need.
It’s also worth double-checking your cable quality here, especially if you’re running 4K or higher resolution content with high dynamic range. A cheap or older HDMI cable can bottleneck bandwidth in ways that cause intermittent dropouts, flickering, or a complete loss of the eARC audio handshake, even though the video looks fine. A cable certified for “Ultra High Speed HDMI” or rated for at least 18–48 Gbps is a safe bet for a receiver-to-TV run, and it’s cheap insurance against a frustrating troubleshooting session later.
Once the physical connection is made, go into your TV’s audio output settings and set the output to “Bitstream,” “Dolby Digital,” or “Auto” rather than “PCM” or “TV Speakers” — this single setting is often the missing piece that keeps a properly wired system from producing any sound at all through the receiver.
Step 3: Wire the Speakers Correctly
Match polarity, strip wire cleanly, and label every run
Speaker wire has two conductors — one marked with a stripe, ridge, or “+” printed along the jacket, the other plain. That marked conductor always connects to the red (+) terminal on both the receiver and the speaker; the plain conductor goes to black (−) on both ends. Getting polarity backward on even one speaker causes phase cancellation, which makes bass sound thin and dialogue sound like it’s coming from nowhere in particular.
Bi-wiring the subwoofer and running long surround cables
Your powered subwoofer is the one exception — it connects via a single RCA “LFE” or “Subwoofer Out” cable rather than speaker wire, since it has its own built-in amplifier. For surround and rear speakers, hide wire along baseboards or under rugs rather than leaving it stretched across a walkway, and always leave a little slack at both ends so you can move furniture without disconnecting anything.
| Speaker Wire Gauge | Best For | Max Practical Run |
|---|---|---|
| 16 AWG | Front L/R, center (short runs under 25 ft) | ~25 ft |
| 14 AWG | Surrounds, longer front runs | ~50 ft |
| 12 AWG | Long surround/rear runs, low-impedance speakers | ~80+ ft |
For a deeper walkthrough with terminal types (banana plugs vs. bare wire vs. spring clips), see how to connect speakers to a receiver.
Step 4: Connect Your Source Devices
Assign each source to its own labeled HDMI input
Plug your streaming device into HDMI 1, your game console into HDMI 2, your Blu-ray or disc player into HDMI 3, and so on. Most receivers let you rename these inputs in the on-screen menu — do this now, so “HDMI 1” becomes “Apple TV” and “HDMI 2” becomes “PlayStation.” It sounds trivial, but it saves real confusion three months from now when a family member can’t figure out which input is which.
If you’re also weighing whether you even need a full receiver versus a simpler setup, our receiver vs. soundbar comparison breaks down when each makes sense.
Step 5: Power On and Walk Through Initial Setup
Let the on-screen wizard guide the first boot
With everything connected, power on the receiver first, then the TV, then your source devices. Most modern receivers launch a setup wizard automatically on first boot, prompting you for language, speaker configuration (2.0, 5.1, 7.1, or Atmos-enabled layouts), and network connection. Connect to Wi-Fi or plug in Ethernet now if you plan to use streaming apps built into the receiver, firmware updates, or a companion control app.
Step 6: Run Automatic Room Calibration
Place the calibration microphone and let the receiver measure your room
Nearly every modern receiver ships with a small setup microphone and a built-in calibration system — Audyssey, YPAO (Yamaha), Dirac, MCACC (Onkyo/Pioneer), or similar depending on brand. Place the mic at ear height in your main listening seat (a tripod or stack of books works fine), start the calibration routine from the menu, and stay silent while it plays a series of test tones and sweeps through each speaker.
Calibration measures each speaker’s distance from your seat, sets output levels so nothing overpowers the mix, and applies room-correction EQ to reduce boomy or harsh frequencies caused by walls, furniture, and room shape. For a deeper walkthrough with brand-specific tips, read our full guide on how to calibrate receiver speakers.
Step 7: Configure Audio Formats and Output Settings
Set your source devices to output the right audio format
Auto-calibration handles speaker levels, but you still need to confirm your streaming devices and game consoles are set to output “Bitstream” or “Dolby Digital/DTS Auto” rather than “PCM Stereo” in their own audio settings menus — otherwise the receiver never receives a multichannel signal to decode, no matter how well your speakers are wired.
Curious what those channel numbers and codec names actually mean? Our receiver channels explained guide and what does Dolby Atmos mean article cover the terminology in plain English.
Step 8: Fine-Tune Manually After Calibration
Trust the mic, then adjust to taste
Auto-calibration gets you 90% of the way there, but personal preference still matters. Common manual tweaks include nudging the subwoofer level up 1–2 dB for movies (and back down for music), boosting the center channel slightly if dialogue feels buried under effects, and switching listening modes — “Movie,” “Music,” “Direct,” “Pure Direct” — depending on content. Save these as presets if your receiver supports them so you’re not re-adjusting every single time.
Understanding Channel Layouts (5.1 vs 7.1 vs 9.1.4)
Receiver spec sheets list channel counts as numbers like 5.1, 7.2, or 9.1.4. The first number is the count of regular speakers, the number after the decimal is subwoofer outputs, and a third number (if present) is height/Atmos channels.
| Layout | Speakers | Best For |
|---|---|---|
| 5.1 | Front L/R, Center, Surround L/R, 1 Sub | Small-to-medium rooms, budget setups |
| 7.1 | 5.1 + Rear surround L/R | Larger rooms, immersive surround |
| 7.2.4 | 7.1 + 2nd sub + 4 height/Atmos speakers | Dedicated home theaters, Dolby Atmos |
For a full explanation of what each channel does and how they interact, see receiver channels explained.
How Many Watts Do You Actually Need?
Wattage matters less than most buying guides suggest, but it’s not irrelevant. A receiver rated 80–100 watts per channel is plenty for most living rooms; larger rooms, less efficient speakers, or a preference for reference-level volume push that number higher. Our detailed breakdown, how many watts do I need for a receiver, walks through the math room-by-room.
Higher Wattage Pros
- More dynamic headroom for action scenes
- Cleaner sound at high volume
- Better match for low-efficiency speakers
Higher Wattage Cons
- Higher cost and power draw
- Diminishing returns in small rooms
- Overkill for apartment-volume listening
Setting Up Dolby Atmos Height Channels
If your receiver and speaker package support Dolby Atmos, you’ll add either in-ceiling height speakers or upward-firing modules on top of your front/surround speakers. During calibration, tell the receiver’s speaker configuration menu that you have height channels enabled — it will prompt for their approximate height and angle so the room-correction EQ accounts for reflected sound bouncing off the ceiling.

Adding height channels?
Upward-firing Atmos modules are an easy add-on if you don’t want to cut into the ceiling.
Shop Atmos SpeakersNot sure what Atmos actually changes about the listening experience? Read what does Dolby Atmos mean for the full explanation.
Wireless Rear Speakers and Multi-Room Setup
Many current receivers support wireless surround kits (transmitter modules that eliminate the need to run wire to rear speakers) and multi-room audio via Wi-Fi, letting you stream the same or different audio to speakers in other rooms. If you’re weighing a wireless setup against traditional wired speakers, our guides on whether wireless speakers lose quality and are wireless speakers any good cover the trade-offs honestly.
For casual listening in a kitchen or bedroom that isn’t tied to your main theater, a dedicated Bluetooth speaker or smart speaker like the Amazon Echo Dot or Marshall Acton III is often simpler than extending your receiver’s zone 2 output.
Common Setup Mistakes to Avoid
- Reversed speaker polarity — causes phase cancellation and weak bass.
- Sources set to PCM instead of Bitstream — silently downgrades surround sound to stereo.
- Skipping calibration — leaves channel levels wildly unbalanced.
- Subwoofer crossover set too low or too high — creates a bass gap or muddies dialogue.
- Overcrowded equipment cabinet — poor ventilation leads to thermal shutdowns.
- Ignoring firmware updates — can leave HDMI handshake bugs unresolved.
Receiver Brands Compared
| Brand | Calibration System | Known For |
|---|---|---|
| Denon | Audyssey | Warm, musical sound signature |
| Marantz | Audyssey | Premium build, refined highs |
| Yamaha | YPAO | Reliable, feature-rich at the price |
| Sony | DCAC | Strong TV/gaming integration |
| Onkyo | AccuEQ | Value-focused power output |
Still shopping? Compare complete packages in our best home theater system under $10,000 and best home stereo system under $500 guides, or browse full best home audio systems and the general how to set up a home audio system walkthrough.
Troubleshooting Common Setup Problems
No sound from surround or height speakers
Re-check speaker configuration in the menu to confirm the layout matches what’s physically wired, and re-run calibration if a speaker was moved or reconnected.
TV shows picture but no sound through receiver
Confirm the TV’s ARC/eARC HDMI input matches exactly, and that CEC/ARC is enabled in the TV’s settings menu — this is the single most common culprit.
Receiver overheats or shuts off
Improve ventilation immediately; a receiver stacked inside a closed cabinet with other warm gear is the most frequent cause.
Dialogue sounds too quiet
Raise the center channel level 2–3 dB, or enable a “dialogue enhancer” mode if your receiver has one.
Ongoing Maintenance and Future-Proofing
Once everything’s dialed in, a receiver setup isn’t entirely “set and forget.” Check for firmware updates every few months, especially if you notice HDMI handshake issues after adding a new device. Re-run calibration any time you rearrange furniture, add a rug, or move a speaker more than a foot or two — room acoustics change more than people expect.

Cleaning up your wiring?
A banana plug kit makes future speaker swaps and rewiring dramatically easier.
Shop Wiring KitsFrequently Asked Questions
Do I need to connect every source to the receiver, or can some plug directly into the TV?
For full surround sound, route every audio-producing source through the receiver. Devices plugged directly into the TV will only output through the TV’s built-in speakers or back over ARC/eARC if the TV supports passthrough, which limits you to whatever the TV app sends rather than the source’s native output.
What’s the difference between HDMI ARC and eARC?
ARC (Audio Return Channel) supports compressed formats like standard Dolby Digital and DTS. eARC (enhanced ARC) has much higher bandwidth and supports uncompressed and object-based formats like Dolby Atmos and DTS:X from streaming apps.
Can I use a receiver without a subwoofer?
Yes. Set the front speakers to “Large” in the speaker configuration menu if they can handle low frequencies on their own, or accept reduced bass extension if they’re set to “Small” without a sub connected.
Why does my center channel sound too quiet even after calibration?
Auto-calibration sometimes undershoots dialogue-critical channels in rooms with heavy furnishing. Manually raise the center channel trim 2–3 dB in the audio settings menu.
Is it safe to leave the receiver on all the time?
Most receivers are designed to handle standby mode fine, but for both energy savings and longevity, turning it off (or letting it auto-standby) when not in use is generally the better habit.
How do I know if my receiver supports Dolby Atmos?
Check the spec sheet or rear panel labeling — Atmos-capable receivers list dedicated height channel amplifier outputs (e.g., “7.2.4ch”) and mention Dolby Atmos/DTS:X decoding explicitly in the manual.
Can I mix speaker brands in one system?
Yes, though matching front L/R/Center speakers from the same line gives the most seamless tonal blend across dialogue and effects panning left to right.
Why did my picture disappear after connecting the receiver?
This is almost always an HDMI handshake issue. Power cycle the TV and receiver in order (receiver first, then TV), and confirm the HDMI cable supports the resolution/refresh rate you’re using.
Do I need a separate receiver if I already have a soundbar?
Not necessarily — a soundbar is a simpler alternative to a full receiver-and-speaker setup. See our receiver vs. soundbar comparison to decide which fits your space and goals.
How often should I re-run auto calibration?
Re-run it whenever you move speakers, rearrange furniture, add or remove a rug, or notice the sound has become unbalanced — otherwise, once a year as routine maintenance is reasonable.
What’s the ideal listening volume reference level?
Movie soundtracks are typically mixed to reference level around 75-85 dB average with peaks higher; most people comfortably watch several dB below reference. Use the receiver’s volume display (often shown as dB relative to reference, e.g., “-20.0”) to find a comfortable, repeatable setting.
My surround speakers sound out of sync with the picture — why?
This is usually audio/video sync (lip-sync) drift, not a speaker wiring issue. Check for a “Lip Sync” or “A/V Sync” delay setting in the receiver’s audio menu and adjust in small increments until dialogue matches mouth movement.
Final Thoughts: Take It Step by Step
Setting up a home theater receiver looks intimidating with a wall of cables and menu options, but each stage builds on the last — placement, connections, source wiring, initial boot, calibration, and fine-tuning. Follow the order above and you’ll avoid the vast majority of issues people run into. Once it’s dialed in, the difference between a receiver-driven system and TV speakers alone is dramatic enough that you’ll wonder why you waited.
If you’re still finalizing your gear list, browse our current picks for the best home audio receiver or compare complete best home audio systems before you commit.
Shop Home Theater Receivers on Amazon
Pingback: Best Denon Receivers: Top Picks